Showing posts with label home improvement. Show all posts

Sunday, February 27, 2011

A Few Recent Additions To My Kitchen, Plus-- A Tea Kettle Dilemma

The print I ordered from Etsy arrived recently, which I framed and hung on that empty wall above the kitchen table.


I love it even more than I thought I would! Check out the print I ordered, and the etsy shop I bought it from here.

I took the above picture the night it arrived. I had been stashing a frame I picked up from goodwill in anticipation of its arrival, so as soon as I saw that cardboard poster tube on my doorstep I framed it and hung it right away. I waited to post this until I had a chance to rephotograph it in proper sunlight. Sadly our kitchen doesn't get that much sun even on bright days, since it is in the back of the apartment, facing another part of the building. I always hope for bright sunny pictures in the kitchen, like I get in my bedroom. Another room that does get that kind of beautiful streaming bright sunshine, however, is the pantry.


Why can't my kitchen get this kind of light?
Other new additions to kitchen include a new fruit bowl  and a new bread box to keep things tidy.
anxiously waiting for fruit

My new Fiestaware pitcher is home now, and looking bright and fun on my kitchen counter. the color of the pitcher has sparked a bit of controversy, though, as I was not originally intending to buy it in the "tangerine" color (I was thinking to go with sunflower) but Kohls was out of stock when my mother and her friend Patti tracked this down for me. I actually love it in tangerine, but... It sits right next to my darker orange tea pot (a remnant from the days of my orange kitchen...) and the two don't work very well together in my opinion. I have been playing around with this a bit, where exactly to set this item so that it is not right next to the tea kettle. I am in love with my new pitcher, it is not a question. The question becomes do I love my tea kettle enough to be OK with those two shades of orange sitting next to each other. If the answer is no, this is an easy thing to fix,  as we have a second tea kettle, sitting on a shelf in our pantry. Its stainless steel finish actually matches a few stainless items we have in the kitchen already. But upon asking one of my roommates her opinion, I am now even more confused! She pointed out how much cuter the shape of the orange kettle is, and how much easier its enamel exterior is to clean should it get spatters of oil on it (which it does, as it sits on the stove at all times- we make tea far too often to justify putting it away!).

The first way I had the two orange objects:

A slightly better arrangement:

The stainless steel option:

Any thoughts? I am thinking I may keep an eye out for an inexpensive tea kettle like the orange one we have now,  in either apple green or pale yellow. I see them from time to time at Marshall's and the price isn't bad. But is that just insane? To buy a third tea kettle? Am I just obsessing over something no one will notice? Probably! Occasionally I need someone to sit me down, tell me I am being obsessive, and  remind me to breathe- it's only a tea kettle!

So anyway, I am very happy with the additions  to my kitchen, everything is coming right along. I think the real dilemma is what to do now? Nearly every space in my apartment is how I want it to be, at least within my means. Maybe fixating on a tea kettle is just proof that once I don't have a big overhaul project to do, my mind doesn't know what to focus on!

Sunday, February 13, 2011

DIY CRAFTS PROJECT: paper bunting for the kitchen

Good news: I'm still loving my cheerful blue kitchen. It has been feeling pretty devoid of art work and decoration though, since changing the general color palate in the room led me to start from scratch with wall art. I picked out a print from Etsy that I think will look great, framed, under the pendant light on the wall above the kitchen table. Now I am waiting for the print to arrive, which may take a while, for 2 reasons: 1. I ordered a custom size, so the artist first has to MAKE the print, and 2. The artist I ordered it from lives in the Czech Republic (isn't the internet an amazing thing?) so who knows how long shipping will take.

The other empty wall in the kitchen, the one above the stove, has always been confusing for me as I try and decorate. Since there are no upper cabinets, the space is kind of awkwardly broken into two parts horizontally by a rail where traditional upper cabinets would sit. In the center is the stove, and the hood above the range visually splits the space into 3 parts vertically.  When I consider what to do with this space, I am baffled. Do I try to work with the look of the top 3 vertical sections by placing a large piece of art in each? Do I put something large in the middle only? Should I work against those visual divisions and put something off center, or two pieces? It may not seem like such a big problem, but somehow I couldn't get my head around it. Everything I tried looked either too symmetrical too off balance.


Basically, when I look at that wall I see this:
 Why yes, that is quite an old picture of my kitchen, and yes, I made that little mock-up in Paint!  You can see how previously I had placed one display object or group of objects in each of the top 3 quadrants. Each item was centered in the quadrant but the height of each object was different. I actually didn't mind that concept too much, but it never looked quite right.

Since the general feeling we are going for in our kitchen is fun, whimsical and casual, I started thinking about creating some basic crafty art for that wall myself. I had seen a lot of interesting buntings (you know, those strings of triangular cloth flags?) on both Etsy and featured in house tours in design blogs I read, and I started thinking maybe that could work. In some odd way buntings are kind of in right now, which is funny, because I think most people think of them in terms of party decorations or dated "country" decor. Turns out, not all buntings are lettered to say something along the lines of "It's A Girl!" or are made of red gingham or American flags.


Since I don't have access to a fabric store, I decided to make mine with paper. I headed down to Paper Source, picked up several sheets of 12x12 patterned paper, and as soon as I got home I got to work. The entire project took less than an hour, and cost me about $10. I am still planning to cover the flags with contact paper to protect them in the long term, so probably in the end the project all together will have taken me under 2 hours, and cost $13. I can live with that.

What I used:
different patterned sheets of paper
white ribbon from drug store
pencil, straight edge, scissors, staples

First I laid out my paper, cut one piece to the size I wanted, and then used that piece as a guide to trace and cut the others. I looked  all over for my ruler, but it seems to have gone missing. I used a paint stir stick instead.

Once I had all my triangles cut, I had to do a little math (the horror!) I decided I wanted lots of extra room to drape, since I hadn't decided yet if I was going to hang the bunting in 3 swooping curls (in googling to try and find the proper words to more clearly describe that concept, I stumbled onto this hilariously specific tutorial for how to hang crepe paper at a party.) or simply straight from end to end. Basically I wanted to make sure that whatever I choose I had more than enough rather than less.

Since the length of wall I was using this on is 10 ft, I cut my ribbon to 19 ft (why not 20'? It just seemed like too much). I had made 21 flags, each of which was 6 inches wide at the top where they would attach to the ribbon. Some random futzing around with a calculator led me to decide to put roughly 5 inches of spacing between each flag. From there I just attached each one properly spaced apart, with 2 staples at the tops. I alternated the papers randomly, trying to keep it looking good, but without a specific repeating pattern.

I couldn't take many progress photos, as the process involved both hands. By the way, check out my tiny calculator and stapler...tiny office supplies are adorable, right? Also, notice my attempt at math on that post-it.

After that I just had to hang it. A bit of trial and errror and hemming and hawing led me to decide to hang it in one arch, not multiple swoops like I mentioned above.

Guess what? I look at that wall and I no longer see quadrants! And I think the variety of colors and patterns tie in really nicely to the curtains on the opposite side of the kitchen. And yes, I had way more bunting than I needed...

Anyone want about 7 feet of decorative paper flags and ribbon?


Saturday, February 12, 2011

Look What I Found

A while ago this caught my eye (and the eyes of quite a few bloggers and decor magazines I read):

I have seen it for sale at urban outfitters and around the internet including Amazon.com from $120-$140. The first time I saw it I swooned a bit, I admit I have a thing for birds and owls in decor (just like everyone else it seems, put a bird on it!), They are sort of all over my room.Especially in white ceramic forms.

Well, look what I found today at TJmax on clearance for $16.99?


quite a resemblance, right?


I think he fits right in, though I am contemplating if the branches look too much like weird spiky hair coming out of his head, what do you think?


And shall we take a moment and notice the other birds in the room? Well there's Wednesday, who is hanging out on the corner of the bed in this picture, she had followed me into the room and I put her up there so I wouldn't step on her by accident while moving around to take pictures.

This little painted metal bird on my desk helps me stay on top of my school work (and yes, on that little dish where I charge my phone there are 2 painted sparrows)

There's another on the other side of the desk, next to my reading lamp. And there are a total of 4 little birds on my bookcase:


And birds on my jewelery stand:


And can you find the 6 birds in this picture?: (click the image to make it larger)


This probably seems a bit out of control, doesn't it? Being a bird lover myself (and a bird owner) and given that birds in decor are so "in" right now, I see so many sweet little bird items in stores, and just can't resist. I am hoping after the publicity Portlandia gave to the issue, someone will start a support group I can join.

Wednesday, February 9, 2011

A small change

In my last post about my kitchen I mentioned this little problem area:
Somehow clear glass does not do a good job of hiding the microwave/cord disaster ugliness. Who knew?

I have been planning a pretty clever hack to cover up the cord area entirely, but since I probably won't get to that project until things warm up a bit (can't use my claimed workshop space - the alley behind our building- when it is holding several feet of snow) I thought I would try and use things I had on hand to better distract from the things I dislike in that corner. I used a placemat from a set a friend gave me at Christmas, a book end I had in my bedroom, and a few of my favorite thrift store collected cookbooks.

Now the area looks like this:
 You can still see the cords, but only if you are looking straight on, which involves standing right in front of the pantry door. Otherwise, it looks like this:
I think it's an improvement. And I actually love how the red book covers pop against that blue. Unfortunately I can't really make the microwave stop looking...microwave-y. Oh well. Now it has pretty vintage cookbooks on it, what's wrong with that?

Oh, and if you are wondering what happened to our growing wine cork collection, I simply moved it across the room to sit on top of the wire cart near the window. I'll post a pic soon once a few other little things come together.

Sunday, January 30, 2011

changing and rearranging

There have been a few changes at my apartment in recent weeks, and I thought I would share.


We moved around the furniture a bit in the living room to create a workspace right under the window. The new arrangement also encourages conversation by having the seating a bit closer and more intimate. I also got a rug after pondering options here (you can also see the old arrangement at that link). Now the room looks like this:


 And here is a close up of the rug I went with:

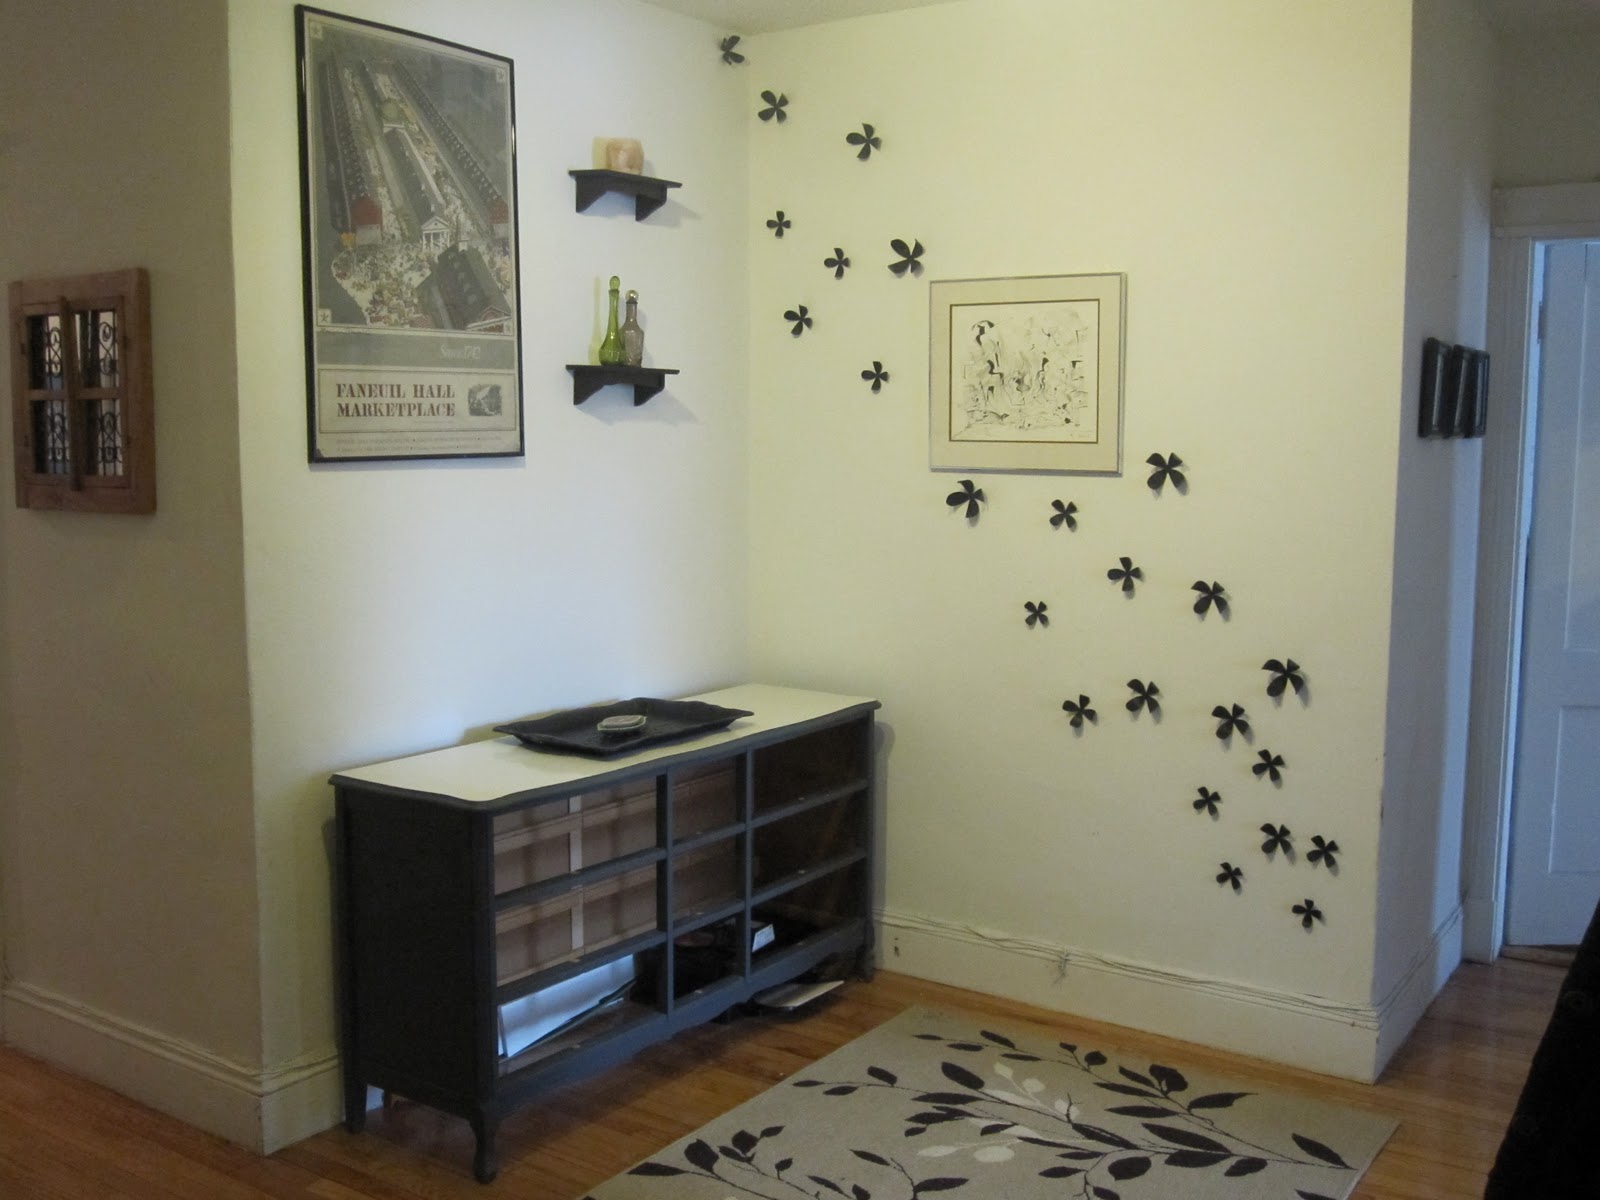
The dresser conversion in the foyer is on hold at the moment, though it hopefully will be done next weekend. In the meantime our foyer looks like this:

The biggest change, however, is in the kitchen. It is getting a heavy dose of cheery colors and whimsy.
Though I pretty recently made some changes to the kitchen here, I ended up feeling really unhappy with the result. I tried to live with it for a bit to see if it would grow on me, but you know what? It didn't! At all. if anything, I started to like it less and less, and started imagining new ways I could fix what I had done. Hope this works, I like it a lot better already, and can't wait to find some fun, poppy art work for that empty wall to pull it all together!

I'll post a few more shots once the project is done. Right now a lot of the kitchen looks a bit unfinished...

Tuesday, January 11, 2011

A few small projects in the bedroom

I did a couple quick projects in my room this past weekend, some simple things to help me feel organized. First, I made some changes to my ikea Aneboda wardrobe. You know the kind, with the corrugated plastic that is translucent, so you can see whatever mess the thing is meant to hide. I used a roll of soft blue contact paper, and some decorative drawer pulls to change its appearance a bit. I am still debating adding some decorative moulding around the crown to give it a more feminine look that matches better with the pulls. I also have a second more modern pair of pulls I may use instead. I am going to give it time.

Before: (ikea stock photo)
 
After: 
(poorly lit bedroom photo...does that red suitcase peeking out bother you as much as it does me?)
I also made the insides of the doors into functional space. I adhered cork board to the inside of the left door, and a jewlery organizer on the other side. The jewelery holder has clear compartments just the right size for storing hair clips and elastics and earrings and things, many of which had previously lived jumbled in a bowl on my bookshelf. The organizer will have to be cut down a bit and re-hemmed eventually, as it is a tad bigger than the door.


Clearly I am going to need to replace this with a better picture, but in the meantime, admire my tiny but efficient "only closet space in the room":


Yep, that's all the closet space I have...that's where my work clothes, a dozen pairs of shoes, and also all my linens live (see them jammed up at the top? guess I will be refolding and organizing everything one of these nights before retaking this picture). 

Another small project I did was replacing the decorative paper on my night stand. Over a year ago I rescued that night stand from the sidewalk, cleaned it for ages (the thing was so dirty...) and then bought some decorative paper over at Papersource and a little spray adhesive. i also went to the hardware store and had a piece of thick tempered glass cut to fit the top. well, after a year of wear, the thing was needing a bit of attention. I reapplied the paper, and sealed it with some Elmer's glue and water (classic decoupage) and then put a coat of clear spray polyurethane on top of that for extra longevity.

Even more daunting of a project was clearing out the drawer, which had become a catch all for everything. Most stuff ended up in the trash, and once I was down to only essentials I lined the drawer with some of the pretty blue contact paper left over from the wardrobe project above, and organized my remaining must-haves in a sectioned jewelery tray from Marshalls.


I also recently bought the pretty silver tray on top from a thrift store. I polished it  (with vinegar!) back to its former glory. Now it makes a perfect landing place for my glasses, hair pins and rings when I go to bed.


And finally, a view of the room with both items and their new-found organizational glory:

Sunday, November 7, 2010

I've been painting doors.

What have I been up to? I've been painting doors.

Like this blue door in the bathroom, with a custom mixed paint color thanks to one of my friends at the hardware store where I used to work.


I also added mirrored decals from TJ Maxx. Now I just  need to decide what to do about that old rusted doorknob. Ignore it since I rent, and with the lock mechanism it may be complicated to replace? I imagine a nice glass knob in its place.  


I also painted the door of our broom closet with chalk board paint, creating a kitchen message center for myself and my roommates to use. 

Also, see that blue tape in the upper left section of that picture? Consider that a sneak peek into a project to come. I just need to work out my final plan, and make sure my roommates don't hate it.


Thursday, October 28, 2010

The Bike in the Bedroom

Firstly, doesn't that title sound like it should be the name of an episode of  Bones? No?

When I first moved into my apartment a year ago, my bedroom was the first place I decorated. In fact, I hung the curtains and artwork, and arranged vases and decorative items more than a week before I had a chance to move most of my furniture in there. After bringing in my belongings from my previous apartment, it took me all of two days to completely unpack. I wanted it to feel settled and homey, no boxes, no big blank walls.

I thought and planned out the room a lot ahead of time, picking a color scheme I thought could make the must-be-left-white walls look purposeful, incorporated into the room. So I wanted something calm and soothing. I picked a color palate of stone blue, chocolate brown and pure white. I scoured marshalls, TJ maxx and my favorite thrift stores for items that fit this theme.

At first I loved how well everything fit together. After a few months, however, I started to feel trapped by the matching-ness of it all. I felt walking into the room like it screamed "Hello, I have a color theme!!!" Recently I decided I had to find some small changes to make to keep the things I liked about the room, but get rid of some of the matchy-matchy-ness.

So I have been going through and making small changes to the room. New sheer gray curtains replaced the blue set that matched the ones behind the bed, a lavender throw, some new beige pillow cases and  a sage throw pillow I sewed went onto the bed to break up the chocolate quilt.

Also among the things that have changed is a 1972 Phillips bicycle has come into my life. After hours of scouring off rust (by the way, a little white vinegar and some steel wool go a long way) I wasn't enthusiastic about keeping it outside in the elements. This post over at Design*Sponge  inspired me not to worry about creative ways to conceal the bike, but to instead use it at a decor item in the room while it is not out on adventures.


The Search Is On

For a while I have been hoping to find a new living room rug which is cheap, but not as cheap-looking as the one I currently have.

My living room has evolved quite a bit in the past several months, here is a picture of it taken in late July, complete with party decorations:

And, how it looks currently:


changes include replacing the coffee table with the one I refinished here, getting a new couch, and loosing the blue and white couch and papasan chair (one was sold to a friend, one left us when a roommate moved out), and then simply rearranging what was already there (also, clearly the fiesta themed decorations were put away). I think it is looking a lot better already, but I keep wondering what a difference a new rug would make, especially given that the current rug (a $40 target find) sheds every time we vacuum, and is looking pretty scuzzy.


So now I find that I spend a lot of time looking online at rugs. I am hoping for something similar in size or a bit bigger than the one there currently (which is 4'x6'), but not too much larger- hopefully 5X7 or so. Since there is already a bit of the feeling of too much furniture in too small a room, I want to stick with a rug that is toned down, and somewhat neutral. It's also important that its colors work nicely in the room. A few that have caught my eye so far:


this one from walmart.com $93 for 5x8 
though, I admit I am hesitant to support Walmart given the way they have been known to treat their employees.


this one from Target for $129 5'x8'

 Something more neutral like this one, also from target for $99.99 (only problem is that is larger than I am looking for, at 78"x120"

This Fab Habitat rug is made from recycled plastic bottles! 5x7- $75.00


This rug from Amazon.com seller Home Dynamics is a little bolder in pattern and color than the others I have been looking at, but the colors really do match many in the room.  5x8 $69.99


So, any input for me? Should I choose one of the above options, keep looking for something else, or just leave my current, shedding little rug in place a while longer?